How To Use Fabric Inside Van Siding

Van Conversion Carpet Lining The Van Walls Adventures In A Camper Van Wall Camper Conversion Sprinter Van Camper

Wall Panels Overlandys Wall Panels Paneling Panel Siding

Sprinter Van Conversion Workbench Google Search Sprinter Van Sprinter Sprinter Van Conversion

Side Lining And Side Cladding For Vans In 2020 Cladding Bodywork Samsung Galaxy Phone

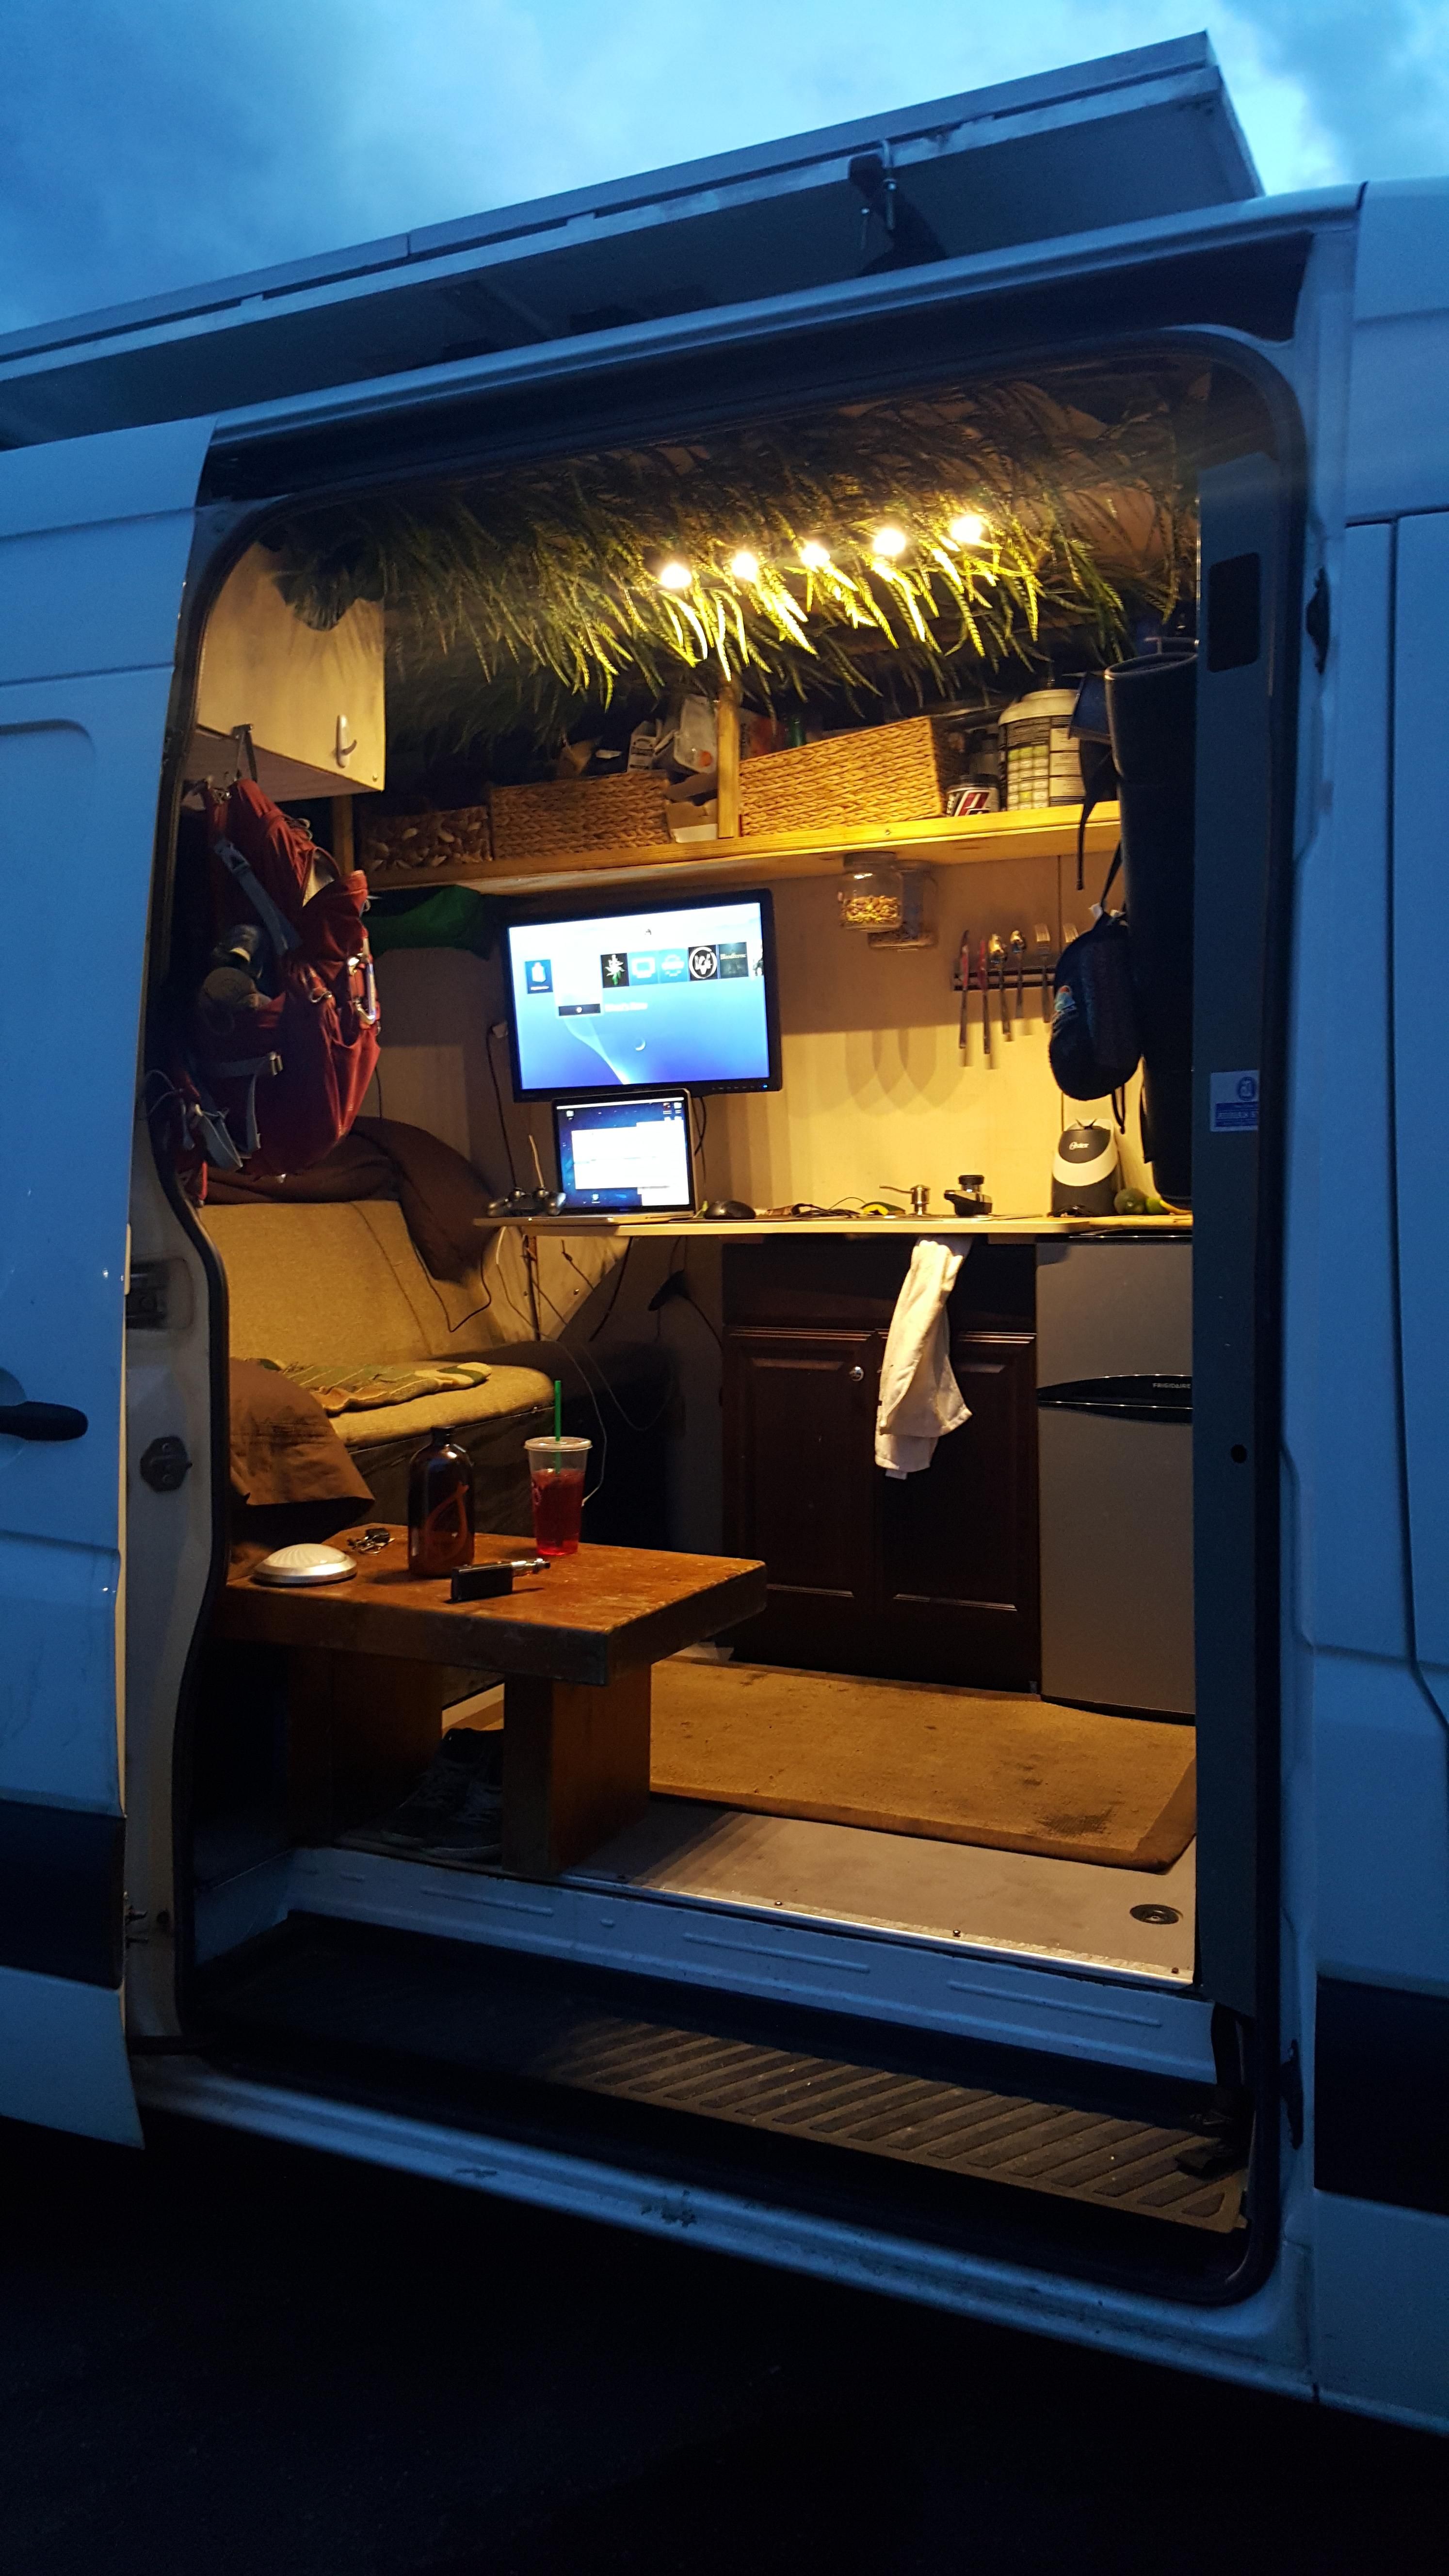
Fitting Wooden Cladding To The Van Interior Van Interior Van Life Diy Van

Van Life Guide Video Video Van Life Sprinter Van Camper Van Conversion Diy
Replace damaged or warped studs as required.
How to use fabric inside van siding.

Legend Fleet Insulated Duratherm 5 16 Wall Liners Sprinter Interior Wall Insulation Van Shelving Ladder Racks For Vans

Fabric Stuff Bag 10in X 10in Aluminum Roof Panel Siding Van Wall

Interior Conversion Kit For Sprinter Vans Starting At 11 500 1 000 Deposit Van Design Wagon Sprinter Van

Legend Fleet Insulated Duratherm 5 16 Ceiling Roof Liner Promaster Insulated Siding Plastic Ceiling Insulated

50 Creative Campervan Interior Designs For Your Next Van Build Camper Van Conversion Diy Van Living Campervan Interior
Sprinter Diy Conversation Camper Van Conversion Diy Minivan Camper Conversion Camper Conversion

Adding Wall Panels To My Van Conversion Youtube

Fleet Model W Side Dinette Seating Camper Prices Dinette Truck Bed Camper

Camper Van Ideas No 16 Van Interior Camper Van Camper Conversion

Sprinter Van Custom Build Van Insulation Van Living Insulated Siding

Legend Fleet Promaster Rubber Floor Mat Rubber Flooring Rubber Floor Mats Flooring

Amanda In A Toyota Van Tiny House Tiny Footprint Toyota Van Van Toyota

2007 Sprinter Van Complete Interior Kit 144 Wb Hr Sprinter Van Van Conversion Interior Sprinter

Pop Up Truck Campers Large Trucks 8 Beds Four Wheel Campers In 2020 Pop Up Truck Campers Truck Camper Large Truck

Rb Gear Hauler Van Nsr 170 Vans Van Wall Panel Siding

How To Add Character To Basic Architecture Unfinished Wood Emily Henderson Interior And Exterior Wood Interiors Timber Cladding

Legend Fleet Insulated Duratherm 5 16 Wall Liners Promaster Sliding Door Panels Panel Doors Insulated Siding

From Benjamin Moore See In A Room Feature Exterior Bm Silent Night 1613 Too Blue Exterior Paint Colors For House House Paint Exterior Exterior House Colors
3

Front Dinette Seating With Etta Fog Fabric Comes With Sink Stove Refrigerator Queen Size Bed And A Furnace Option Truck Camper Pop Up Truck Campers Camper

Sunbrella Awning Stripe 4949 0000 Forest Vintage Bar 46 Fabric Sunbrella Awning Awning Lake Houses Exterior

How To Install Wall Paneling In Your Converted Van Where You Make It

Sheet Metal Patches Bodywork Vintage Trailers Restoration Vintage Camper Remodel Vintage Camper

Ipe Rain Screen Gallery Wood Cladding Cladding House Cladding
Source : pinterest.com
